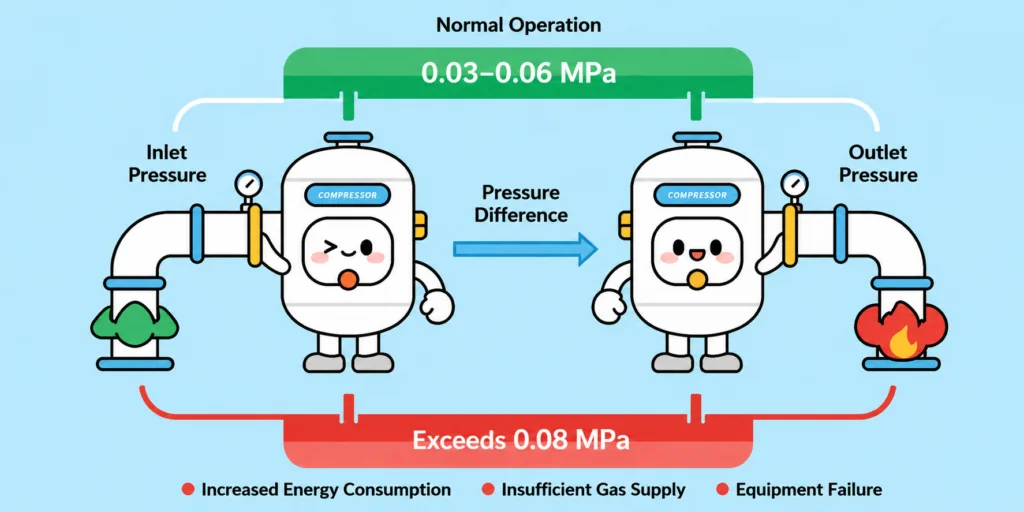
In a compressed air system, the pressure drop of an adsorption dryer—namely the pressure difference between the inlet and outlet—is a key indicator of equipment operating condition. Under normal operating conditions, the dryer pressure drop should generally be maintained between 0.03 and 0.06 MPa. If it exceeds 0.08 MPa, system energy consumption may increase, air supply flow may become insufficient, and in severe cases, downstream production equipment may be affected.
Troubleshooting excessive pressure drop should follow the principle of “external before internal, simple before complex” to avoid unnecessary disassembly. Below are the recommended troubleshooting steps and practical solutions.
Step 1: Verify Pressure Measurement Accuracy to Avoid Misjudgment
Before troubleshooting, confirm that the pressure drop data is accurate and reliable.
- Ensure that the inlet and outlet pressure gauges have been calibrated. Calibration is recommended every six months. The gauge dial should be intact, the pointer should move smoothly, and the connecting tubing should be free from blockage.
- If the pressure gauge reading fluctuates sharply, the pressure tapping port may be blocked. Remove and clean it, and use compressed air to back-blow the pressure tapping tube.
- Check the measuring conditions. Pressure drop varies with inlet air flow, so measurements should be taken when the equipment is operating at its rated treatment capacity. Excessive flow beyond the rated capacity will naturally increase the pressure drop.
- If the actual air demand significantly exceeds the dryer’s rated capacity, adjust the air load or replace the dryer with a larger model, then check whether the pressure drop returns to normal.
Step 2: Check the Inlet Piping and Remove External Flow Restrictions
Blockage or increased resistance in the inlet piping is a common external cause of excessive pressure drop.
First, inspect the pre-filter:
- If the precision filter installed upstream of the dryer, typically 3–5 μm, becomes clogged, the overall pressure drop will increase directly.
- Close the inlet and outlet valves of the filter, release the pressure, and remove the end cover. Check whether the filter element is blackened, deformed, or covered with dust. If the surface is heavily contaminated or the differential pressure exceeds 0.07 MPa, replace it immediately with a filter element of the same specification. Replacement is generally recommended every 3–6 months, or more frequently under harsh operating conditions.
- Next, check the inlet and outlet valves of the dryer. Confirm that they are fully open. Manual valves should be opened to their maximum position, while pneumatic valves should be checked for sufficient air supply pressure and smooth valve core movement.
- If a valve is not fully open, it may create excessive local resistance. Disassemble the valve to remove impurities or replace the damaged actuator as needed.
Step 3: Inspect the Adsorption Tower and Check Key Internal Components
If no abnormalities are found in the external piping, focus on the inside of the adsorption tower, which is often the main source of excessive pressure drop.
First, check the condition of the desiccant:
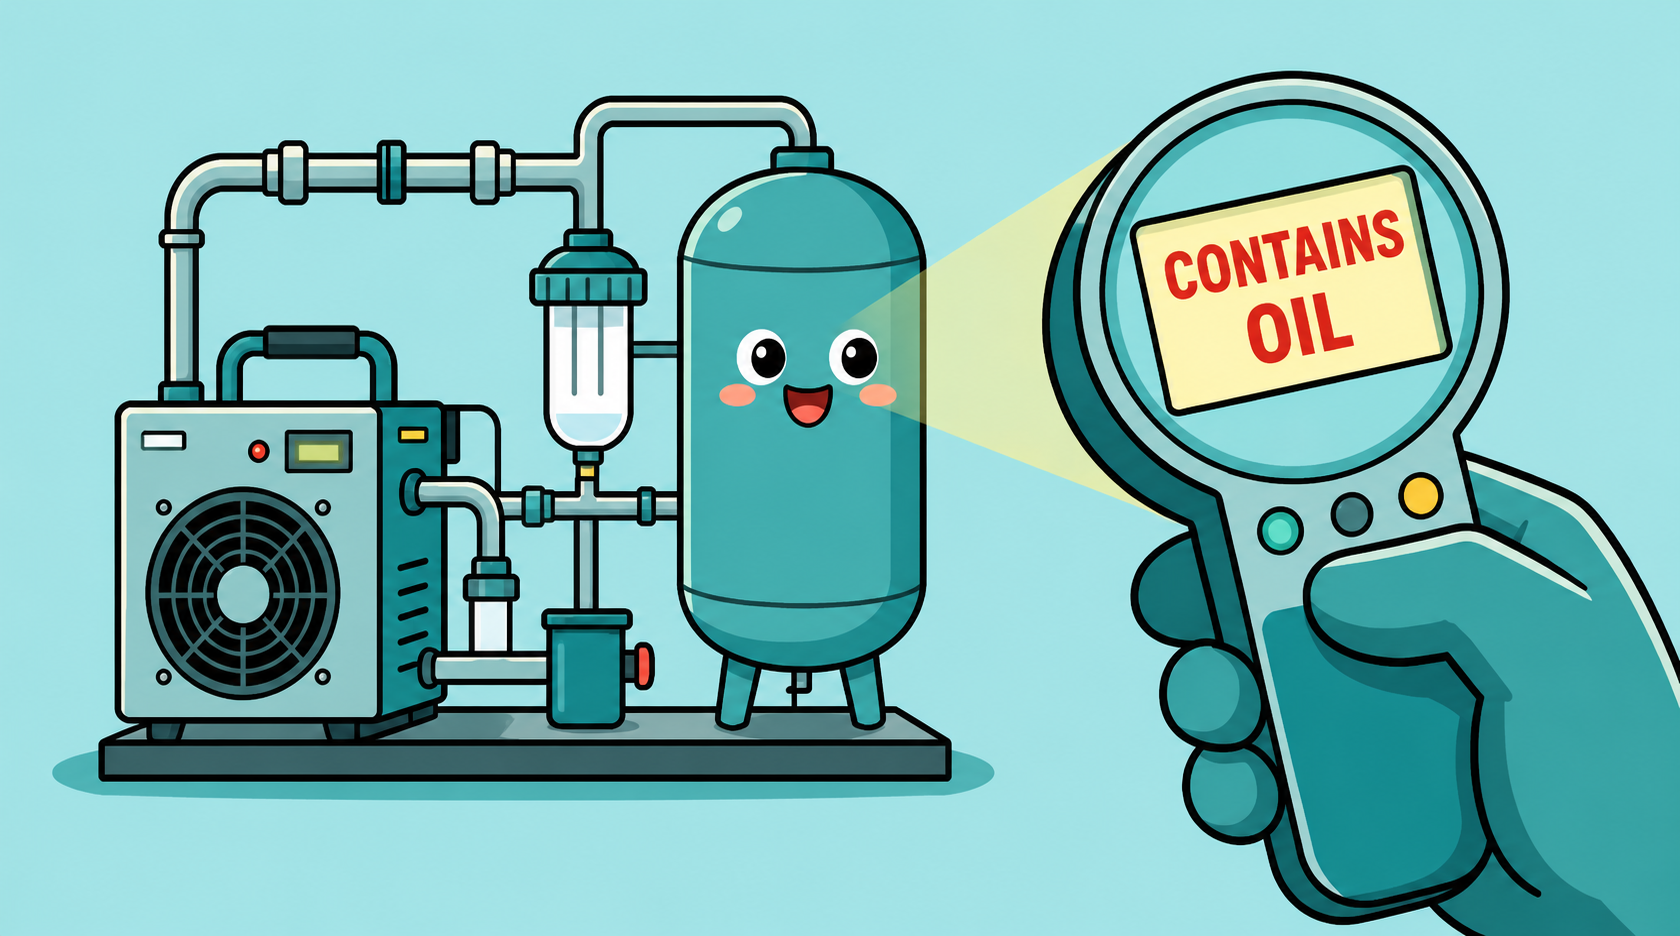
- After shutting down and depressurizing the unit, open the inspection port of the adsorption tower and remove a small amount of desiccant, such as activated alumina or molecular sieve. Check whether it is caked, powdered, or contaminated with oil.
- Caked desiccant can block the airflow channels and increase gas flow resistance. This is usually caused by oil carryover, water ingress, or insufficient regeneration.
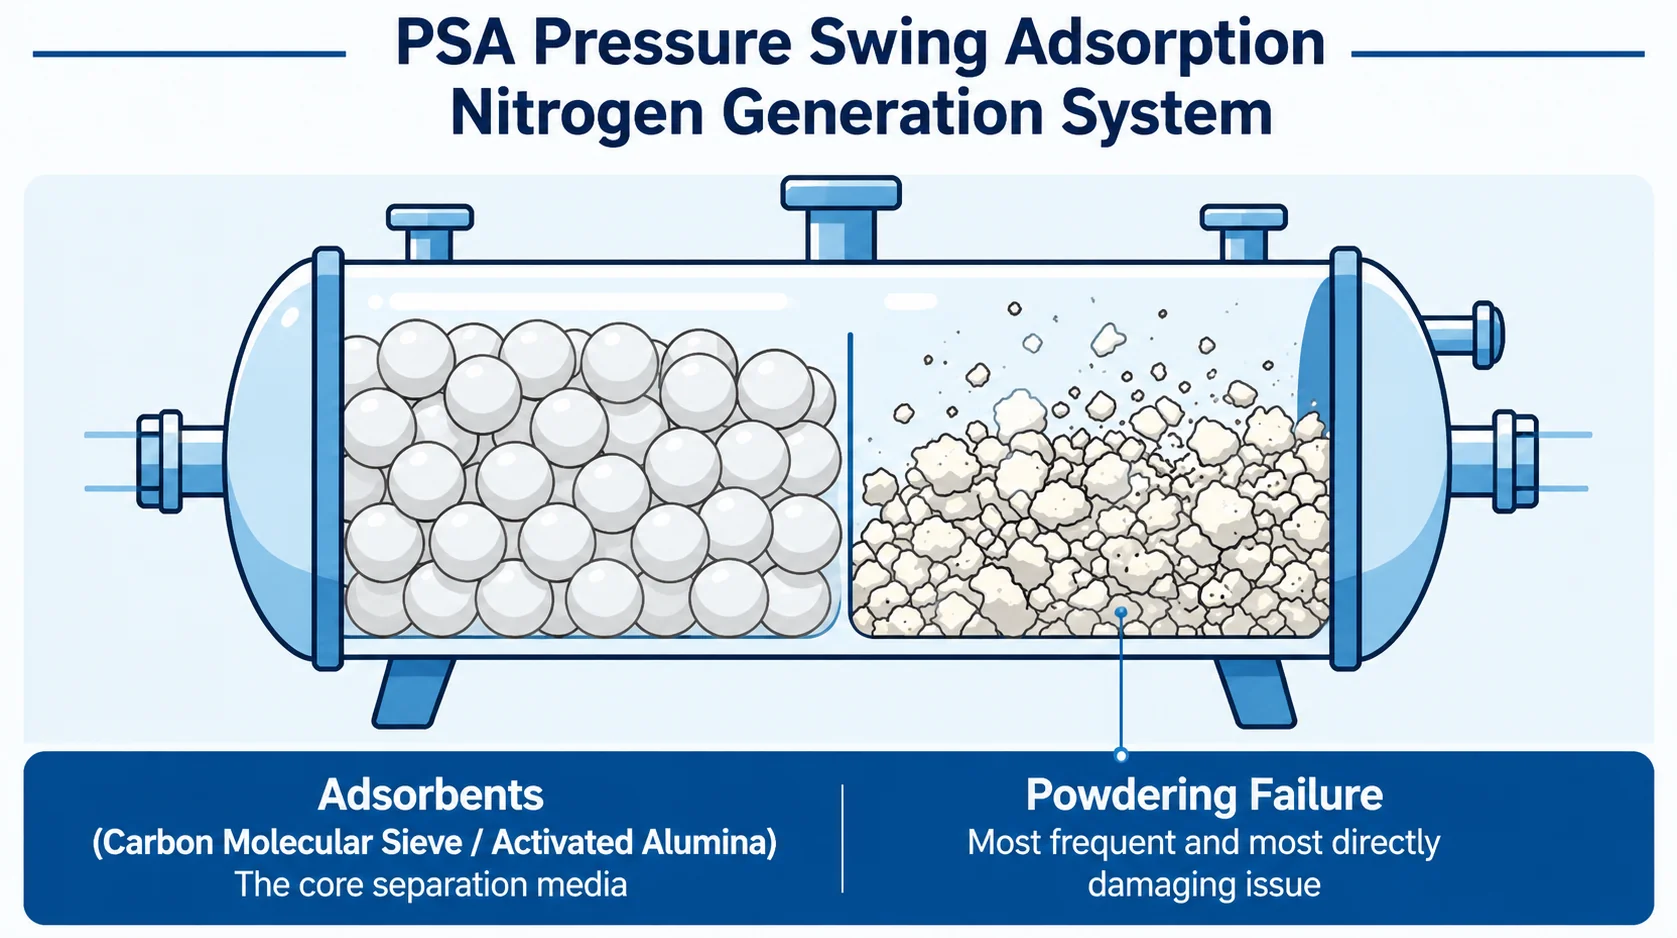
- If the desiccant has become powdered, the possible causes include excessive airflow velocity or desiccant aging. In this case, replace all desiccant. During replacement, fill the tower in layers according to the operation manual, avoid voids, and ensure the filling volume meets the required standard. At the same time, check whether the internal screen is damaged. If the screen is broken, desiccant dust may enter downstream equipment, so the screen should be replaced as well.
- Next, inspect the airflow distributor. If the distributor plate or perforated plate inside the adsorption tower is blocked by desiccant dust or impurities, airflow distribution will become uneven and local resistance will increase. Remove the distributor and clean it with compressed air to ensure all openings are unobstructed.
Step 4: Inspect the Switching Valves and Internal Piping
Faults in the switching valves, such as solenoid valves or pneumatic valves, and internal connecting pipes can also cause abnormal pressure drop.
- Observe whether the valves switch smoothly and whether there is any sticking or air leakage. This can be checked by listening for abnormal sounds or applying soapy water to detect leaks.
- If a valve is stuck, the valve core may be worn or blocked by impurities. Disassemble the valve, clean the valve core and valve seat, and replace worn seals.
- If internal leakage occurs, airflow between the two towers may interfere with normal operation and increase flow resistance. Replace the faulty valve.
- Also inspect the internal piping. If dust or oil sludge has accumulated in the connecting pipes between the adsorption tower and switching valves, or in the regeneration piping, back-blow the pipes with compressed air. If necessary, soak the inner walls with a suitable cleaning agent, ensuring that the agent does not corrode the pipe material. Make sure the pipe inner diameter remains clear and unobstructed.
Step 5: Check the Outlet Piping and Eliminate Downstream Resistance
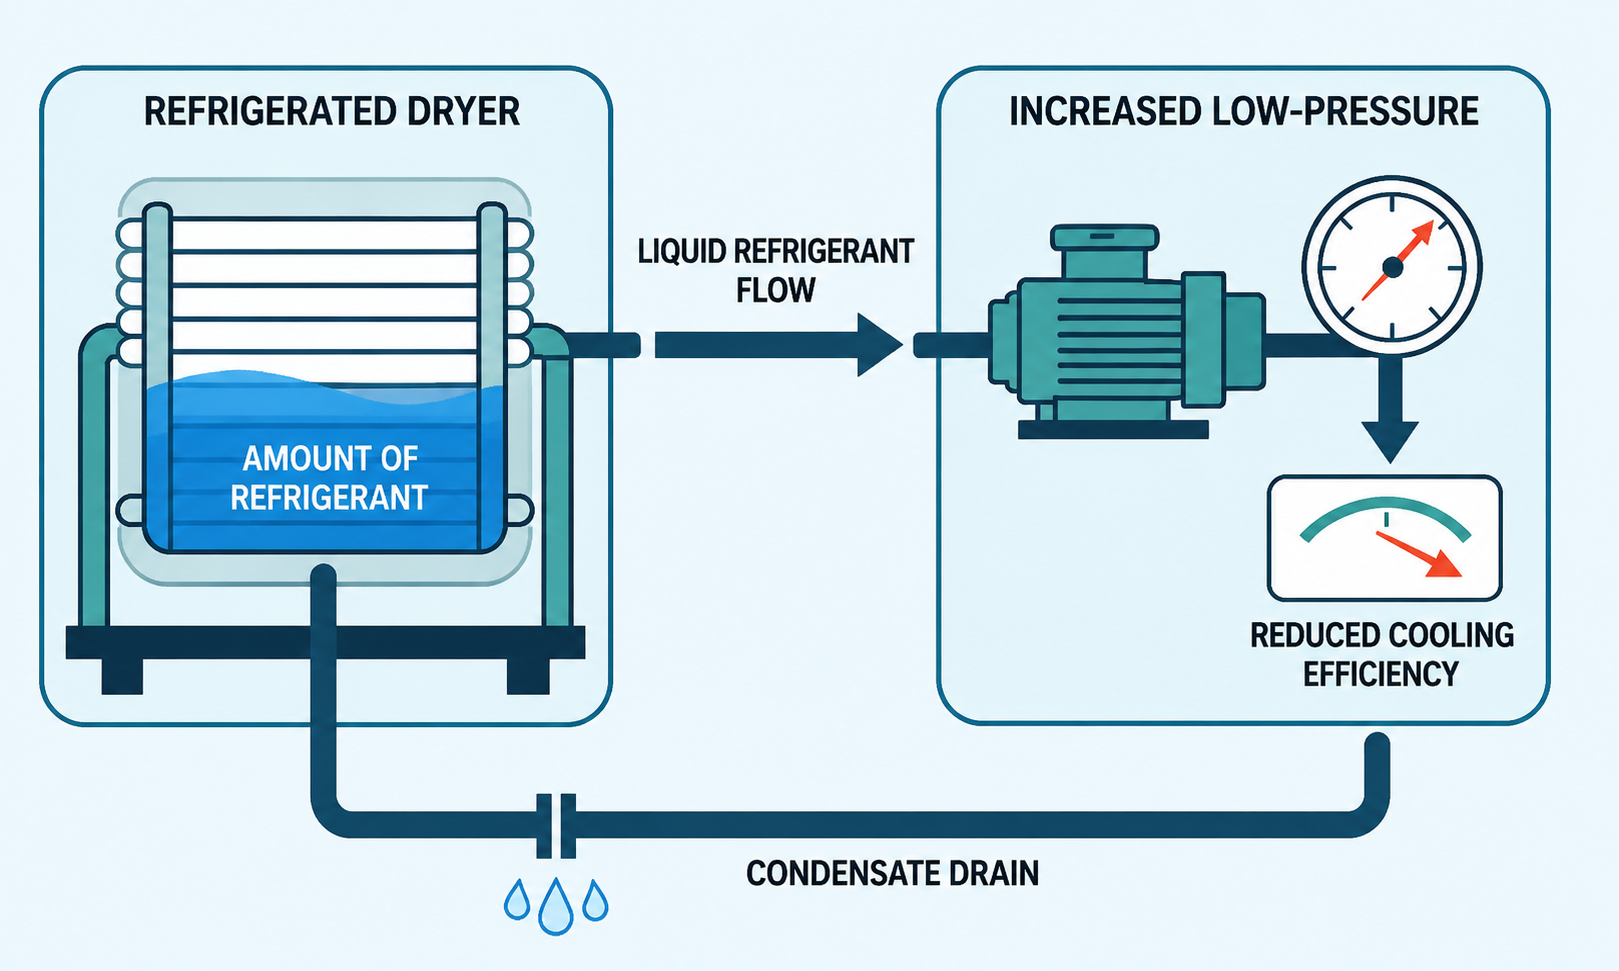
Blockage in the outlet piping or excessive back pressure can indirectly increase the dryer pressure drop and should not be ignored.
First, inspect the regeneration exhaust silencer:
- If the exhaust silencer of a heatless or heated regeneration dryer is clogged, regeneration gas discharge will be restricted. This affects normal adsorption tower operation and increases the pressure drop.
- Remove the silencer and blow out internal dust and impurities with compressed air. If it is severely blocked, replace it directly. Cleaning every six months is recommended.
- At the same time, check the downstream piping. Confirm whether the air receiver, downstream filters, and pipelines are blocked by measuring the pressure difference between the air receiver and the dryer outlet.
- If the pressure difference exceeds 0.03 MPa, downstream resistance may be too high. Clean the downstream piping or replace clogged downstream filter elements accordingly.
Step 6: Strengthen Routine Maintenance to Prevent Recurrence
Excessive pressure drop is often caused by improper maintenance. The following routine measures are recommended:
- Replace the upstream filter element regularly to prevent oil, dust, and other impurities from entering the adsorption tower.
- Control inlet air conditions. The inlet air temperature should not exceed 45°C, and oil content should be ≤0.01 mg/m³ to prevent desiccant failure.
- Perform regeneration according to the operation manual. For heated dryers, ensure that the regeneration temperature meets the required value. For heatless dryers, ensure sufficient regeneration air volume to prevent desiccant caking.
- Carry out a comprehensive cleaning of the adsorption tower every 1–2 years. Check the condition of the desiccant, screen, and airflow distributor, and replace aging components in time.
Troubleshooting excessive pressure drop in an adsorption dryer should be carried out step by step. Start with easily accessible external components before inspecting key internal parts. This approach improves troubleshooting efficiency and helps avoid unnecessary equipment damage.
If the pressure drop still does not return to normal after troubleshooting, the issue may be related to equipment design, such as an undersized adsorption tower or unreasonable airflow channel design. In this case, contact the manufacturer for technical modification or replace the dryer with a properly matched model.