The evaporator is one of the key heat-exchange components inside a refrigerated air dryer.
It transfers heat between the compressed air side and the refrigeration circuit while keeping the two fluid circuits separated.
If the evaporator develops a leak, the first troubleshooting task is to determine whether the problem is:
An external refrigerant leak, where refrigerant escapes from the refrigeration circuit into the surrounding environment,
or:
An internal evaporator leak, where compressed air and refrigerant communicate across a damaged internal heat-transfer surface.
These two failure modes require different diagnostic methods.
Correctly identifying the type of leak can help avoid repeated refrigerant charging, unnecessary disassembly, and extended equipment downtime.
Safety note: Refrigeration systems operate under pressure and may contain regulated refrigerants. Refrigerant recovery, pressure testing, evacuation, charging, brazing, and refrigeration-circuit repairs should be performed by qualified personnel using appropriate equipment and in accordance with local regulations and the dryer manufacturer’s service instructions.
Never use oxygen for pressure testing and never exceed the equipment’s approved test or design pressure.
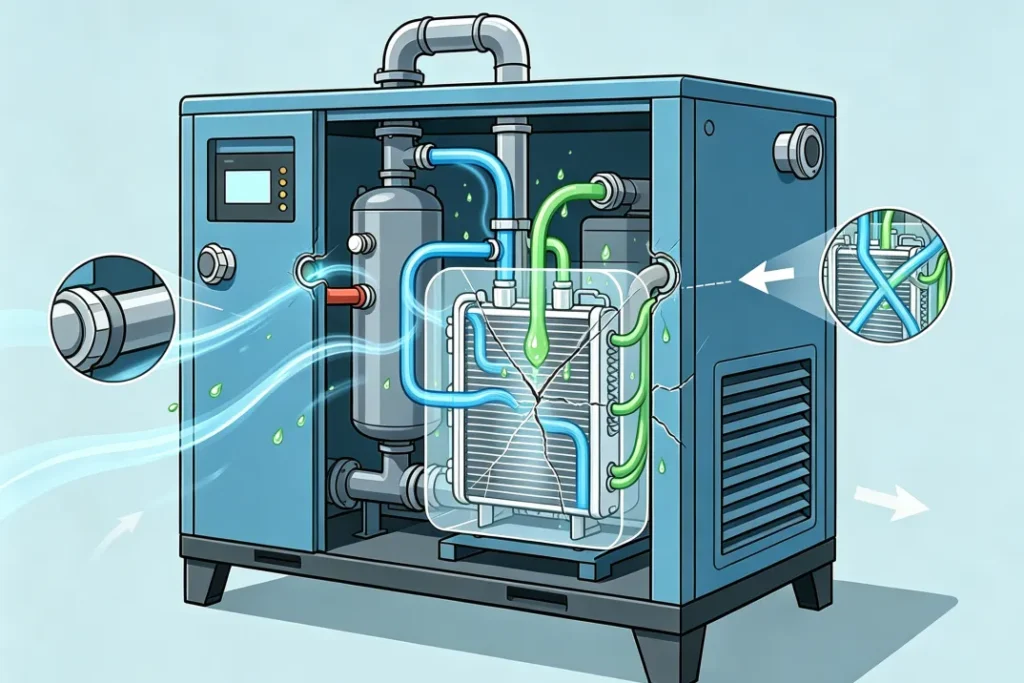
1. Understand the Difference Between External and Internal Evaporator Leaks
Before testing, it is useful to distinguish the two conditions.
| Leak Type | What Happens | Typical Indications |
|---|---|---|
| External leak | Refrigerant escapes from the refrigeration circuit to the atmosphere | Low refrigerant pressure, loss of refrigeration capacity, oil traces near a leak point |
| Internal leak | The compressed air circuit communicates with the refrigerant circuit through a damaged heat-transfer surface | Refrigeration pressure behaves abnormally or rises after shutdown when the compressed air side remains pressurized |
Neither symptom alone should be treated as final proof.
Pressure readings can also be affected by refrigeration controls, ambient conditions, compressor problems, restrictions, refrigerant charge, and other faults.
Leak diagnosis should therefore combine:
- Visual inspection
- Pressure behavior analysis
- Appropriate leak-testing methods
2. How to Check for an External Refrigerant Leak
An external leak allows refrigerant to escape from the sealed refrigeration system.
Possible leak locations include:
- Copper tubing
- Brazed joints
- Service connections
- Flare fittings where used
- Process tubes
- Refrigeration valves
- Connections around the compressor, condenser, and evaporator
Step 1: Perform a Visual Inspection
Disconnect the dryer from power according to the required lockout procedure and inspect accessible refrigeration components.
Look for:
- Oil stains
- Oily dust accumulation
- Damaged tubing
- Cracked or stressed connections
- Signs of rubbing between copper tubes
- Loose or damaged fittings
- Corrosion around joints
Refrigerant escaping from a circuit may carry a small amount of refrigeration oil with it.
An oily area around a joint or tube can therefore be a useful clue.
However:
Oil staining indicates a location that should be investigated—it does not by itself confirm an active refrigerant leak.
Pay particular attention to small refrigeration tubes and areas exposed to vibration or contact with adjacent components.
3. Use an Appropriate Refrigerant Leak Detection Method
If visual inspection does not identify the source, the refrigeration circuit may need to be leak-tested.
Any remaining refrigerant should be handled using approved refrigerant recovery procedures. It should not simply be released to atmosphere.
After the refrigeration circuit has been properly prepared, qualified technicians may use dry nitrogen or another manufacturer-approved inert test gas.
Do Not Use Oxygen
Never pressurize a refrigeration circuit with oxygen.
Oxygen in contact with refrigeration oil and other materials under pressure can create a serious fire or explosion hazard.
Follow the Manufacturer’s Approved Test Pressure
There is no single pressure such as 0.2 MPa, 0.5 MPa, or any other fixed value that should automatically be applied to every refrigerated air dryer.
The allowable pressure depends on:
- Refrigerant circuit design
- High- and low-pressure side ratings
- Heat exchanger construction
- Refrigerant type
- Components installed in the circuit
- Manufacturer’s service specifications
Always remain within the approved test pressure for the specific dryer.
4. Confirm External Leaks With Bubble Testing or an Electronic Detector
Once the refrigeration circuit is safely pressurized with the appropriate test gas, suspected external connections can be checked.
A suitable leak-detection solution may be applied to:
- Brazed joints
- Flare connections
- Threaded refrigeration fittings
- Valve connections
- Service ports
- Accessible tubing joints
Continuous bubble formation can indicate escaping gas.
An electronic refrigerant leak detector may also be used when the system contains an appropriate tracer or refrigerant according to the applicable service procedure.
For a large dryer, combining visual inspection, electronic detection, and bubble confirmation can make leak localization faster and more reliable.
5. How to Recognize a Possible Internal Evaporator Leak
An internal leak is different because the refrigerant does not necessarily escape outside the dryer.
Instead, a breach develops between the compressed air passage and refrigeration passage inside the evaporator.
Because the compressed air side often operates at a significantly higher pressure than portions of the refrigeration circuit, compressed air may migrate into the refrigerant side when an internal breach exists.
Possible symptoms include:
- Abnormal refrigeration pressure
- Refrigerant pressure rising unexpectedly after shutdown
- Repeated high-pressure protection
- Refrigeration pressure increasing when the compressed air side is pressurized
- Difficulty maintaining normal refrigeration operating conditions
These symptoms justify further investigation, but they are not automatically proof of an evaporator failure.
For example, abnormal refrigeration pressure can also result from:
- Condenser problems
- Cooling airflow problems
- Cooling-water problems
- Refrigerant charging issues
- Refrigeration control faults
If the main symptom is abnormal refrigerant pressure rather than confirmed leakage, see what can cause excessively high refrigerant low pressure in a refrigerated air dryer.
6. Method 1: Isolate and Pressure-Test the Evaporator
One direct diagnostic method is to isolate the evaporator so the two sides can be evaluated independently.
This procedure should be performed only by qualified refrigeration technicians because it may require opening the refrigeration circuit.
The general diagnostic principle is:
Isolate → Pressurize Safely → Stabilize → Monitor → Confirm
The technician isolates the relevant evaporator passages according to the equipment design and applies an approved test medium and pressure.
Pressure is then monitored after stabilization.
A pressure change may indicate leakage, but temperature changes must also be considered because gas pressure varies with temperature.
For this reason, a pressure-holding test should not be interpreted without allowing adequate stabilization and accounting for ambient temperature.
7. Method 2: Check Whether Compressed Air Enters the Refrigeration Circuit
Another useful diagnostic principle is to determine whether pressurizing the compressed air side causes pressure to appear on the isolated refrigeration side.
A qualified technician may use the following general procedure:
- Shut down and electrically isolate the refrigerated dryer.
- Properly recover refrigerant where opening or isolating the refrigeration circuit is required.
- Prepare the refrigerant side according to the manufacturer’s service procedure.
- Isolate it from other possible pressure sources where the dryer design allows.
- Pressurize the compressed air side within the dryer’s approved operating range.
- Observe the isolated refrigeration side for an unexplained pressure increase.
If refrigeration-side pressure increases as a direct result of pressurizing the compressed air passage, communication between the two circuits is strongly indicated.
That finding can support a diagnosis of an internal heat-exchanger leak.
However, the exact isolation procedure depends on the dryer’s refrigeration circuit.
Do not assume that the evaporator is the only possible communication path in every refrigerated dryer design.
8. Why Pressure Equalization Is an Important Clue
During normal operation, the compressed air and refrigerant circuits are separated.
There should be heat transfer between them, but no direct fluid communication.
An internal breach changes that condition.
If:
Compressed air side pressure rises → Refrigeration side pressure also rises
when the refrigeration circuit has been correctly isolated from other possible pressure sources, the pressure response indicates that gas may be crossing the heat-transfer barrier.
This is much stronger diagnostic evidence than simply seeing an abnormal refrigeration gauge reading during normal operation.
9. Do Not Confuse an Internal Leak With Other Refrigeration Faults
Before condemning the evaporator, rule out other causes of abnormal refrigeration pressure.
Depending on dryer design, technicians may need to inspect:
- Condenser condition
- Cooling airflow
- Cooling-water conditions
- Refrigeration compressor operation
- Refrigerant charge
- Expansion or throttling device
- Pressure controls
- Temperature controls
- Bypass controls
- Refrigeration piping restrictions
This is particularly important when the only symptom is a high- or low-pressure alarm.
Replacing an evaporator without confirming internal communication between the compressed air and refrigerant circuits can result in unnecessary repair cost.
10. Prevent Evaporator Problems by Controlling Operating Conditions
Not every evaporator failure can be prevented, but correct operation can reduce unnecessary thermal, pressure, and contamination stress.
Keep the Dryer Within Its Rated Conditions
Operate the dryer within the manufacturer’s specified limits for:
- Compressed air flow
- Inlet pressure
- Inlet temperature
- Ambient temperature
- Cooling-water temperature where applicable
An overloaded dryer may experience poor dew point performance and abnormal refrigeration operating conditions.
Maintain Effective Condensate Separation
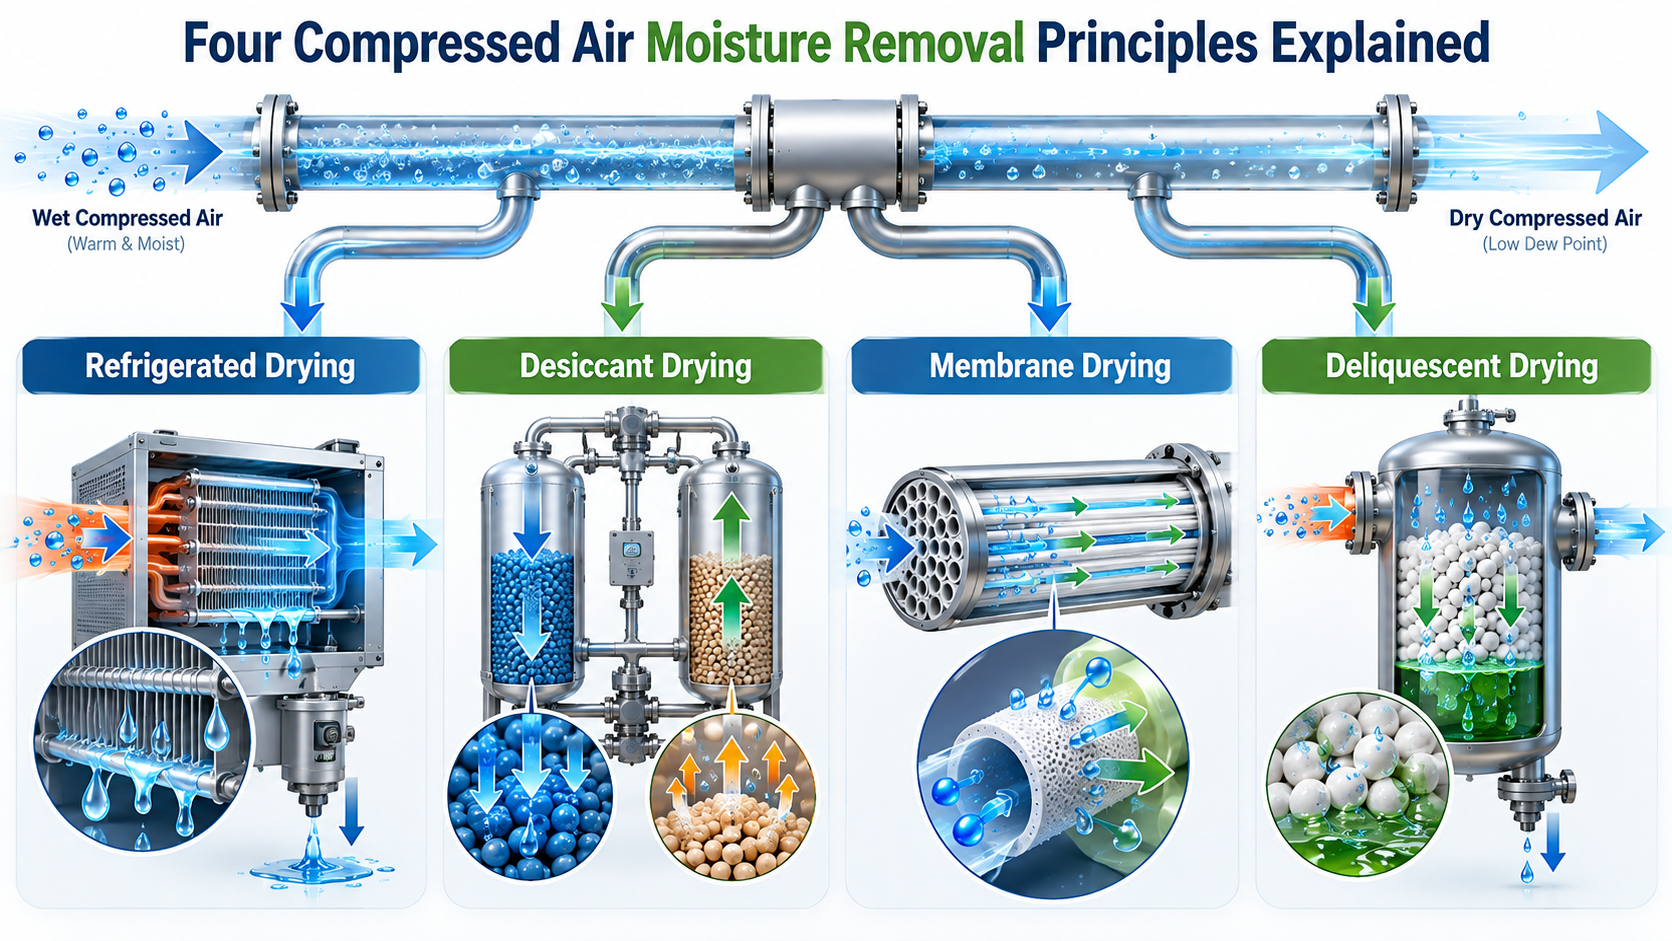
A refrigerated air dryer cools compressed air so that water vapor condenses and can be separated from the air stream.
Condensate separators and drains must therefore function correctly.
A blocked or malfunctioning drain can affect dryer performance and should be included in routine maintenance.
For a broader explanation of the refrigeration and moisture-removal process, see how a refrigerated air dryer works.
Maintain Condenser Heat Rejection
For air-cooled dryers, keep condenser surfaces and cooling airflow paths clean and unobstructed.
For water-cooled dryers, verify appropriate cooling-water conditions and maintain the condenser according to the manufacturer’s instructions.
Poor condenser heat rejection can raise refrigeration-system pressure and may create symptoms that are incorrectly attributed to an evaporator problem.
Inspect Tubing and Connections
During scheduled maintenance, inspect accessible:
- Refrigeration tubing
- Brazed joints
- Service connections
- Mounting points
- Areas where tubing may rub against other components
Vibration-related contact should be corrected before repeated movement damages the tubing.
For broader maintenance guidance, see the refrigerated compressed air dryer maintenance guide.
11. What to Do After a Leak Is Confirmed
The repair strategy depends on where the leak is located.
External Leak
If an external leak is confirmed at a serviceable joint or refrigeration component, a qualified technician should follow:
Locate → Repair → Pressure-Test → Evacuate → Recharge → Commission
The correct refrigerant type and charge should follow the dryer nameplate and manufacturer specifications.
Do not repeatedly add refrigerant without repairing the leak first.
Internal Evaporator Leak
If an internal breach between the compressed air and refrigeration circuits is confirmed, the evaporator or heat-exchanger assembly will generally require manufacturer-approved repair or replacement.
Simply recharging the refrigerant will not solve the underlying problem.
After replacement or repair, the complete dryer should be recommissioned and checked for:
- Refrigerant leakage
- Normal refrigeration pressures
- Stable operating temperature
- Proper condensate drainage
- Required pressure dew point
- Normal high- and low-pressure protection
Conclusion: Correct Diagnosis Comes Before Repair
Diagnosing a refrigerated air dryer evaporator leak begins by determining whether the problem is external or internal.
For an external leak, use:
Visual Inspection → Approved Pressure Testing → Leak Localization
Oil traces can help identify suspicious areas, while bubble solutions and appropriate electronic leak-detection equipment can confirm active leakage.
For a suspected internal evaporator leak, the most important question is whether the compressed air circuit and refrigeration circuit have developed direct communication.
The diagnostic logic is:
Isolate the Circuits → Apply Pressure Safely → Monitor the Opposite Side → Confirm Communication
Do not rely on one pressure-gauge symptom alone, and do not repeatedly recharge refrigerant before locating the source of the problem.
Most importantly, refrigerant recovery, pressure testing, brazing, evacuation, and charging should be performed by qualified refrigeration personnel according to the specific dryer’s service procedures.
Correct diagnosis first. Repair second.
That approach reduces unnecessary component replacement, avoids repeated refrigerant loss, and helps return the refrigerated air dryer to reliable operation as quickly as possible.
If the leak source cannot be safely identified or an internal evaporator failure is suspected, contact Lingyu for technical support.