As a critical component of a compressed air treatment system, a desiccant air dryer removes moisture from compressed air and helps maintain a stable pressure dew point.
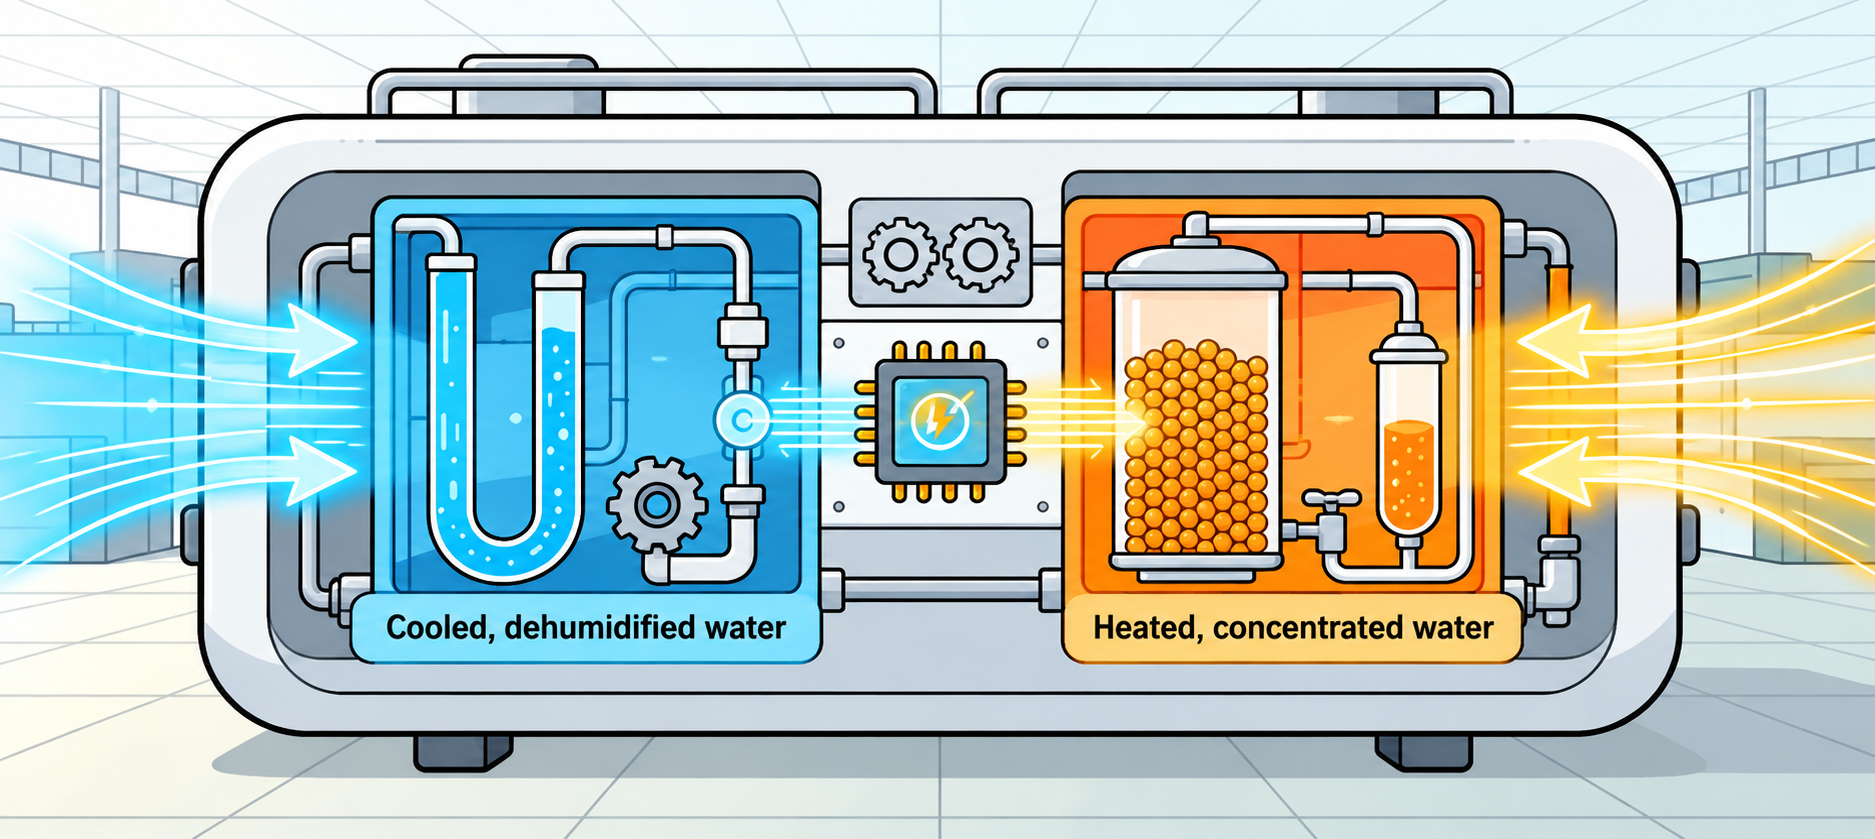
In a typical twin-tower desiccant air dryer, one tower performs adsorption while the other undergoes regeneration. The two vessels alternate to provide a continuous supply of dry compressed air.
Abnormal tower switching may disturb regeneration, cause unstable outlet dew point, create abnormal pressure fluctuations, or increase pressure loss across the dryer.
Understanding compressed air pressure drop can therefore be useful when diagnosing switching-related problems. See how compressed air pressure drop affects system efficiency for a broader explanation.
For efficient troubleshooting, inspections should generally proceed from the control system to the pneumatic circuit and then to the mechanical valve assembly.
Start with simple external checks before disassembling components.
The following four-step procedure provides a practical approach to diagnosing abnormal switching in a desiccant air dryer.
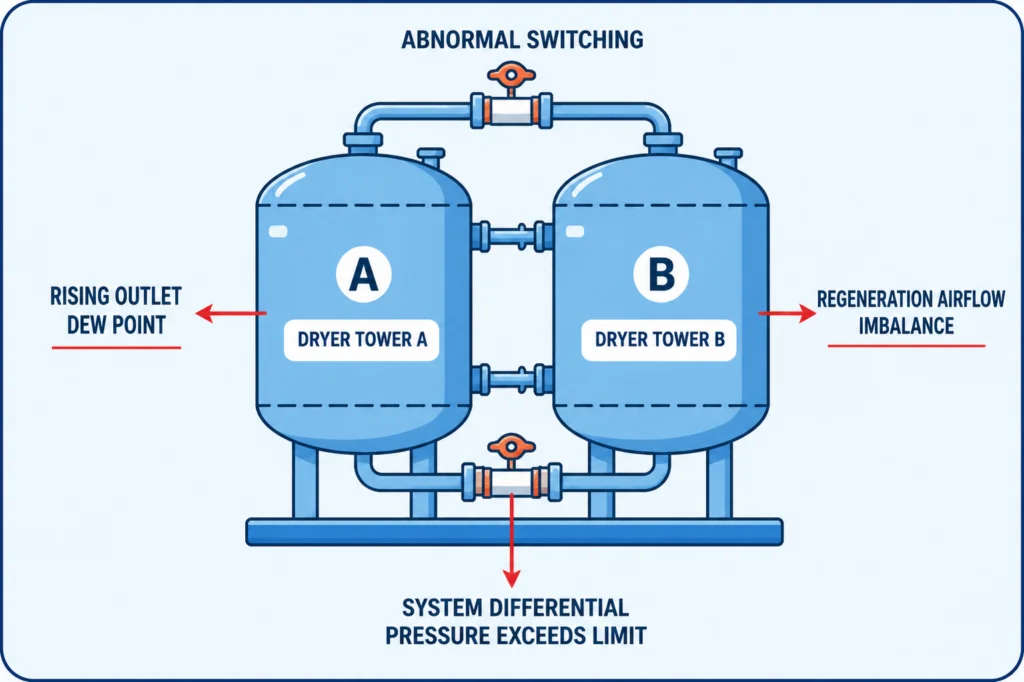
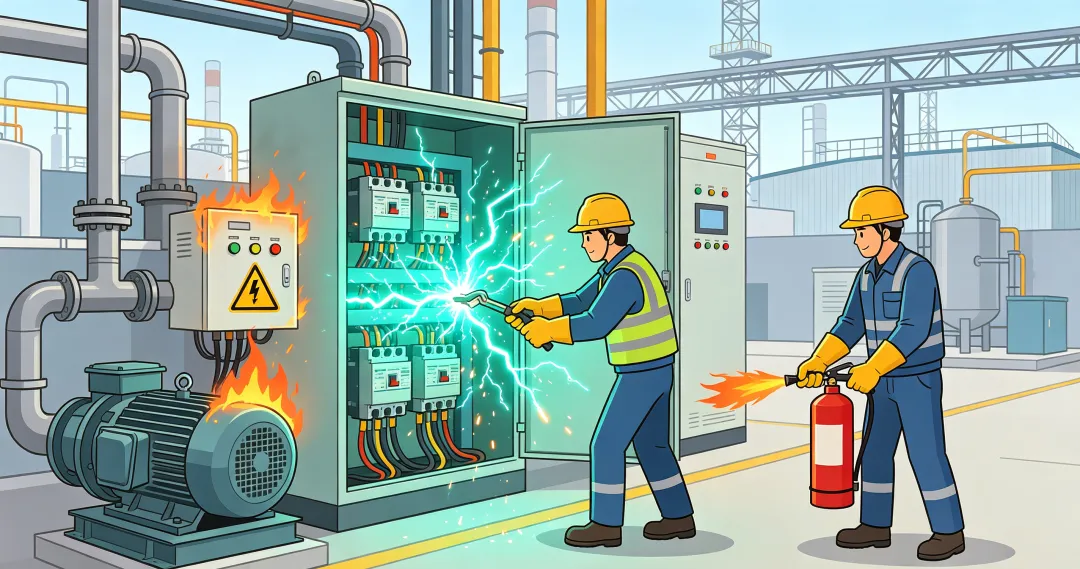
Step 1: Inspect the Electrical Control System
The switching process depends on the controller, solenoid valves, pneumatic actuators, and associated wiring.
A control fault may prevent one or more valves from operating at the correct time.
1. Check the Controller
Confirm that the dryer controller is powered and operating normally.
If the display or indicator is inactive, first check:
- Power supply
- Terminals
- Wiring connections
- Protective devices
Follow the equipment manual when inspecting electrical components.
If the controller is operating but a valve does not respond during the switching sequence, continue checking the corresponding control output and solenoid valve.
2. Inspect the Solenoid Valve and Coil
Observe whether the relevant solenoid valve is energized during the switching sequence.
Check the:
- Solenoid coil
- Electrical connector
- Wiring
- Terminals
Look for looseness, damage, or poor contact.
If contamination is suspected inside the pilot passage, inspect and clean the valve according to the manufacturer’s maintenance instructions.
3. Verify the Control Sequence
Observe the operating sequence of Tower A and Tower B.
Confirm that the dryer follows the expected sequence:
Adsorption → Depressurization → Regeneration → Repressurization → Switching
If the operating sequence is abnormal, inspect the controller settings and control logic before replacing mechanical components.
4. Check Valve Response
During switching, confirm that the corresponding pneumatic valves and actuators respond to the controller command.
If the electrical signal is present but the valve does not move correctly, the problem may be in the:
- Pneumatic control circuit
- Actuator
- Valve itself
This helps separate an electrical control fault from a downstream pneumatic or mechanical problem.
Step 2: Check the Pneumatic Circuit and Exhaust System
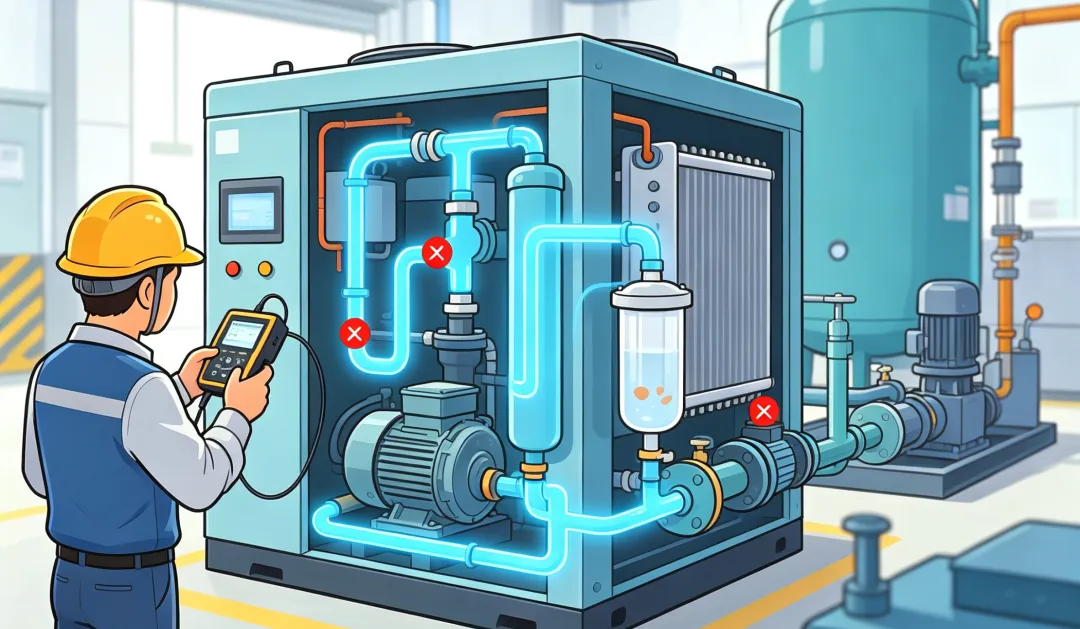
Once the electrical control system has been confirmed to operate normally, inspect the pneumatic control and regeneration exhaust paths.
Restricted control air or abnormal exhaust may prevent the switching valves from completing their required movements.
1. Inspect Regeneration Exhaust
Observe the dryer during depressurization and regeneration.
Possible signs of abnormal regeneration exhaust include:
- Little or no exhaust during regeneration
- Unusually long depressurization
- Abnormal tower pressure changes
- Excessive exhaust noise
- Continuous exhaust when the dryer should have completed regeneration
These symptoms may indicate:
- A blocked exhaust path
- Malfunctioning valve
- Silencer restriction
- Control problem
Do not diagnose the problem from exhaust sound alone. Compare exhaust behavior with the switching sequence and tower pressure.
2. Inspect the Silencer
A restricted silencer can interfere with proper depressurization and regeneration.
Inspect the silencer for:
- Contamination
- Blockage
- Physical damage
Clean or replace it according to the manufacturer’s maintenance instructions when necessary.
Avoid using unapproved cleaning chemicals or procedures that could damage the silencer or other components.
3. Check the Control-Air Circuit
Inspect pneumatic tubing, fittings, pilot-air passages, and connections for:
- Air leakage
- Loose connections
- Blockage
- Kinked or damaged tubing
- Insufficient control-air pressure
Stable control air is necessary for reliable pneumatic actuator operation.
4. Inspect the Pre-Filter
A contaminated compressed air pre-filter may increase pressure loss and allow contaminants to enter downstream equipment.
Check the filter element and differential pressure indication where applicable.
Replace the element according to:
- Actual operating condition
- Filter specification
- Maintenance record
- Manufacturer’s recommended service interval
Do not use one fixed replacement interval for every installation.
Regeneration airflow should also remain within the specified operating range for the dryer. For more information, see how to adjust regeneration air flow in an adsorption air dryer.
Step 3: Inspect Switching Valves and Pneumatic Actuators
Lingyu regenerative desiccant air dryers use pneumatic valve systems to achieve reliable switching between adsorption and regeneration.
If both the electrical controls and pneumatic control circuit are operating correctly, inspect the mechanical components of the switching system.
1. Check the Pneumatic Actuator
Observe whether the actuator completes its full opening and closing stroke.
Slow, incomplete, or irregular actuator movement may indicate:
- Insufficient control air
- Internal actuator problems
- Excessive valve resistance
- Mechanical wear
Do not replace the actuator before confirming that adequate control air and the correct control signal are available.
2. Inspect the Switching Valve
Check the valve for:
- Restricted movement
- Internal contamination
- Seal deterioration
- Corrosion
- Abnormal leakage
- Mechanical wear
A valve that cannot fully open or close may disrupt tower pressure, regeneration airflow, and the normal switching sequence.
3. Inspect the Check Valve
A malfunctioning check valve may cause undesirable reverse flow or pressure instability.
Check for:
- Leakage
- Sticking
- Contamination
- Mechanical damage
Service or replace the component when required.
4. Check Pressure Equalization Before Switching
Before tower switching, the pressure between the two vessels should be properly managed according to the dryer’s operating sequence.
If repressurization or pressure equalization does not occur correctly, the subsequent switching action may become unstable and create unnecessary pressure fluctuations.
Lingyu heatless regenerative desiccant dryers incorporate automatic repressurization before valve switching to stabilize vessel pressure and reduce impact on the desiccant bed.
Step 4: Check Operating Conditions and Prevent Recurring Switching Problems
After correcting the immediate switching fault, investigate the operating conditions that may have contributed to the problem.
This helps prevent repeated switching failures and identifies problems that may already be affecting adsorption and regeneration performance.
1. Monitor Tower Pressure
Compare the pressure behavior of Tower A and Tower B throughout:
Adsorption → Depressurization → Regeneration → Repressurization → Switching
Unexpected pressure differences or excessive overall pressure loss may indicate:
- Restricted airflow
- Valve malfunction
- Filter blockage
- Exhaust restriction
- Incorrect valve timing
For persistent pressure-loss problems, see how to troubleshoot high pressure drop in an adsorption dryer.
2. Monitor Pressure Dew Point
A rising or unstable pressure dew point may indicate that the switching problem is already affecting adsorption and regeneration performance.
In addition to the switching system, check:
- Inlet temperature
- Inlet pressure
- Regeneration conditions
- Desiccant condition
- Airflow
- Pre-filtration
Persistent deterioration in adsorption performance may require further investigation of the desiccant and adsorption system.
See what causes declining desiccant air dryer adsorption performance for a more detailed diagnostic approach.
3. Inspect the Desiccant
Check the desiccant when abnormal switching has continued for an extended period or when pressure dew point cannot recover after the switching fault has been corrected.
Possible problems include:
- Contamination
- Excessive dusting
- Attrition
- Moisture saturation
- Uneven airflow through the desiccant bed
The condition of the desiccant should be evaluated together with the dryer’s operating history rather than relying only on a fixed replacement interval.
4. Perform Preventive Maintenance
Routine inspection helps reduce unexpected switching failures.
Maintenance should include regular inspection of:
- Electrical connections
- Controller status
- Solenoid valves
- Pneumatic actuators
- Switching valves
- Check valves
- Silencers
- Pneumatic tubing
- Filter elements
- Tower pressure
- Pressure dew point
Maintenance frequency should be determined according to the dryer model, operating environment, load profile, compressed-air quality, and the manufacturer’s maintenance requirements.
Do not apply one universal maintenance interval to every desiccant air dryer.
Quick Troubleshooting Logic for Abnormal Tower Switching
A structured symptom-to-cause sequence can make troubleshooting faster.
Controller Has No Switching Output
Check → Power supply → Wiring → Controller settings → Control logic
Controller Output Is Normal, but the Solenoid Valve Does Not Respond
Check → Solenoid coil → Connector → Wiring → Pilot passage
Solenoid Valve Operates, but the Pneumatic Actuator Does Not Move Correctly
Check → Control-air pressure → Pneumatic tubing → Actuator → Pilot circuit
Actuator Operates, but Tower Pressure Does Not Change Normally
Check → Switching valve → Check valve → Exhaust path → Silencer
Switching Appears Normal, but Pressure Dew Point Remains High
Check → Regeneration conditions → Airflow → Pre-filtration → Operating conditions → Desiccant performance
This sequence helps avoid replacing mechanical components before electrical, pneumatic, and operating-condition causes have been ruled out.
Conclusion: Troubleshoot Abnormal Switching Systematically
Troubleshooting abnormal switching in a desiccant air dryer is most effective when performed systematically.
Start with the electrical control system, then inspect the pneumatic control circuit and regeneration exhaust path, and finally check the pneumatic actuators and mechanical valves.
At the same time, monitor:
- Tower pressure
- Pressure dew point
- Filtration
- Regeneration conditions
- Desiccant performance
These indicators help identify problems that may affect the complete adsorption–regeneration cycle.
Proper switching is especially important in twin-tower regenerative dryers because reliable valve operation and pressure equalization directly affect the transition between adsorption and regeneration.
The overall troubleshooting sequence can be summarized as:
Electrical Control → Solenoid Valve → Pneumatic Circuit → Exhaust System → Actuator → Switching Valve → Tower Pressure → Pressure Dew Point → Desiccant
If the source of the problem cannot be identified through normal inspection, avoid unnecessary disassembly of the dryer.
Instead, contact Lingyu for technical support and professional troubleshooting assistance.