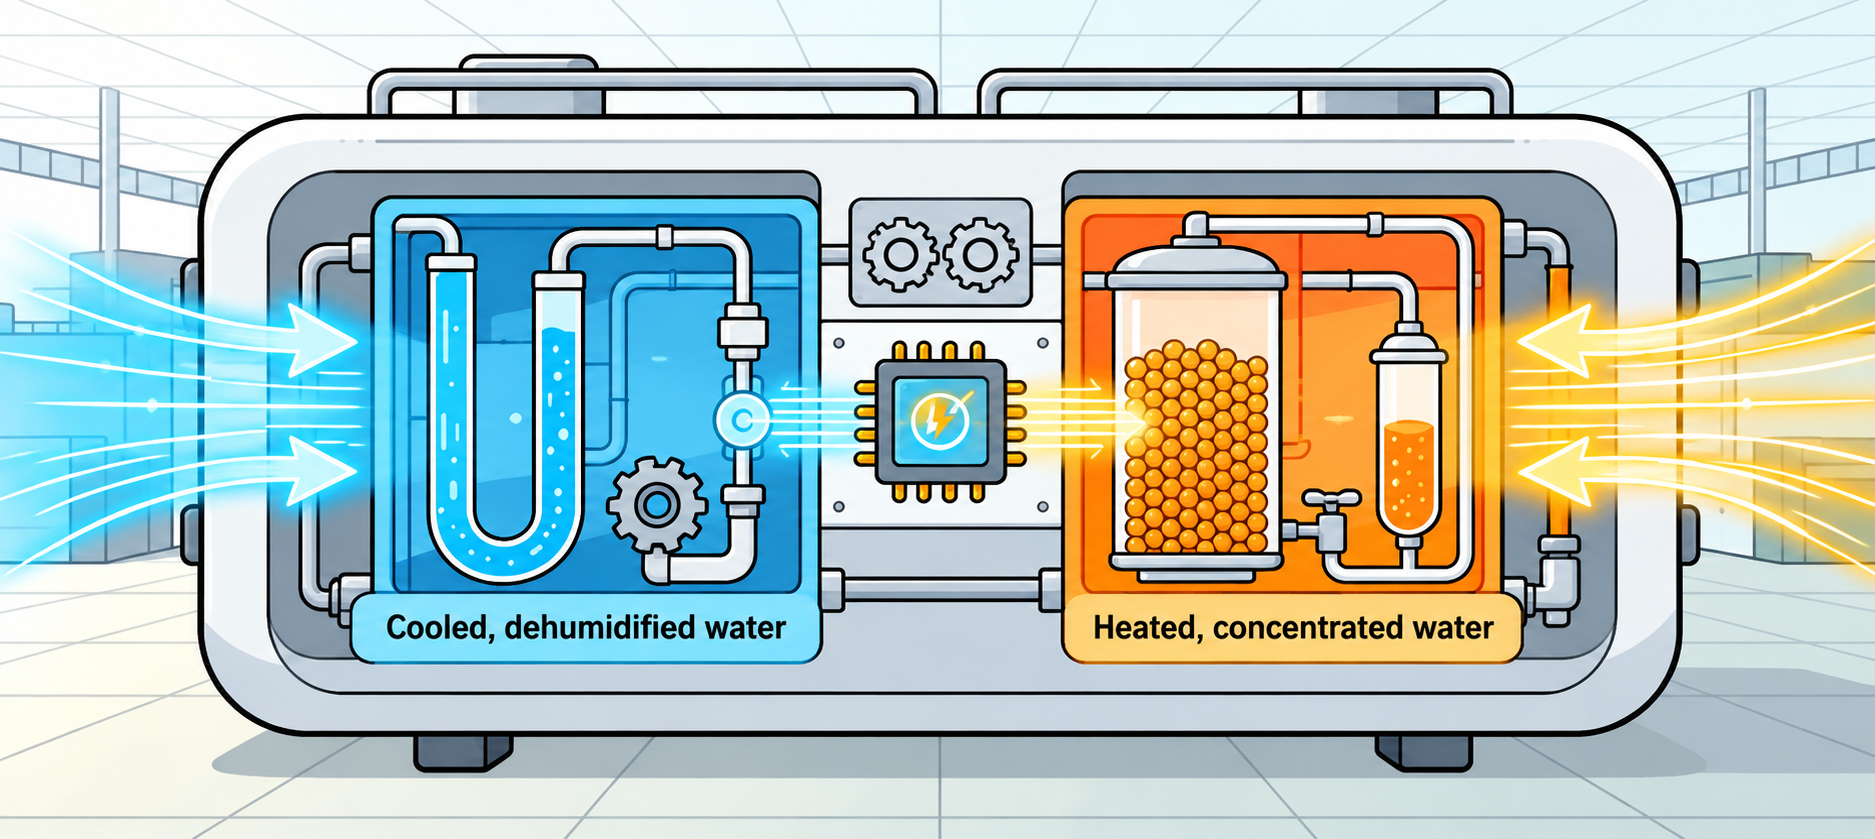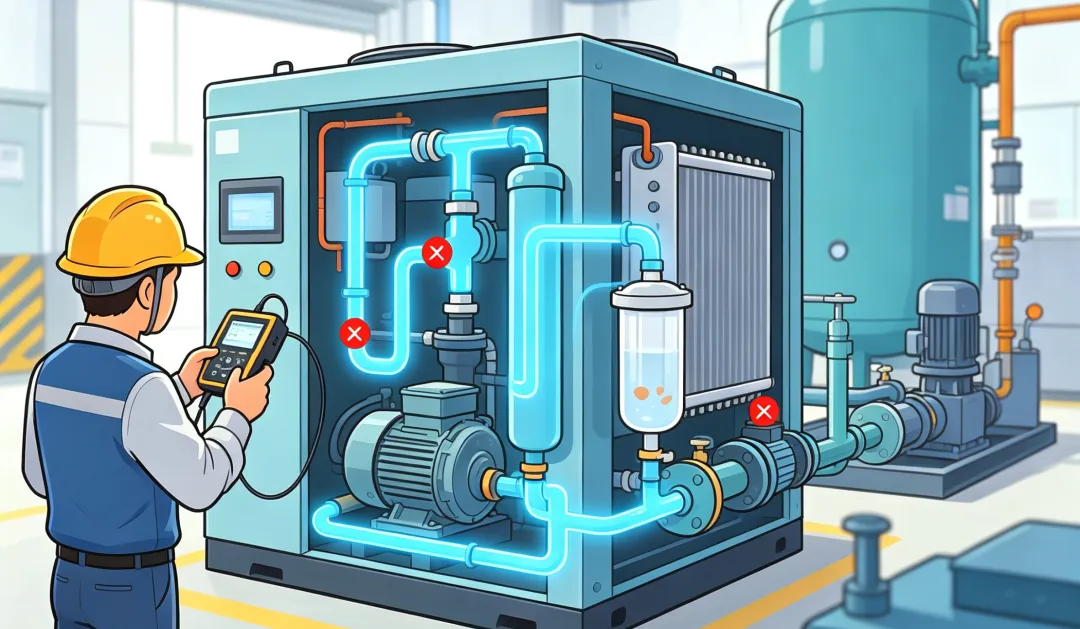
A regenerative desiccant air dryer must remove moisture from its desiccant before the regenerated adsorption tower can return to service.
Depending on the dryer design, regeneration may involve dry purge air, heated purge air, an external blower, heat recovered from the compressor, depressurization, repressurization, or a combination of these stages.
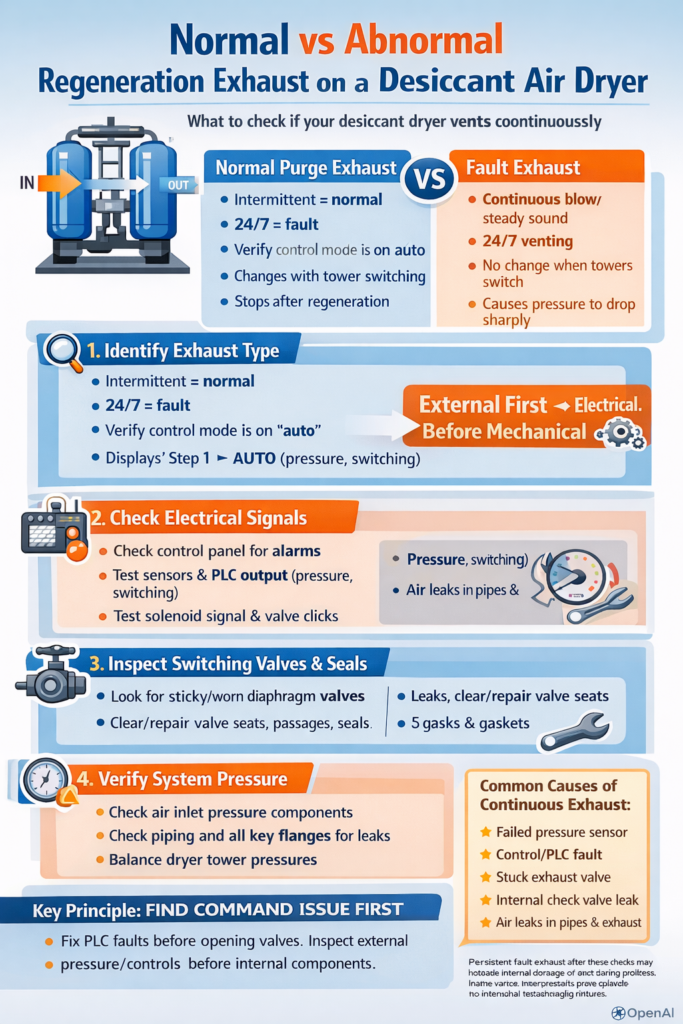
For this reason, hearing air or gas flowing from the regeneration exhaust does not automatically mean the dryer has a fault.
The more useful question is:
Does the exhaust match the regeneration method, current operating stage, and expected tower-pressure sequence?
If exhaust continues outside the intended regeneration sequence, does not change when the towers switch, prevents the regenerating tower from repressurizing correctly, or causes an unexplained loss of system pressure, further troubleshooting is required.
For background on the drying process itself, see how a desiccant air dryer works.
1. First Identify What Type of Dryer You Have
Before diagnosing continuous or excessive exhaust, first identify the dryer’s regeneration method.
This is important because normal exhaust behavior differs significantly between regenerative dryer technologies.
Heatless Regenerative Desiccant Dryer
A heatless dryer regenerates the off-line adsorption tower using a portion of the dry product air.
Dry compressed air passes through the regenerating tower as purge air, desorbs moisture from the desiccant, and carries that moisture out through the exhaust.
For the Lingyu HH heatless series, average purge-air consumption is 8–14%.
Purge flow during the regeneration period is therefore a normal part of operation for this type of dryer.
A heatless regeneration adsorption air dryer should not be evaluated according to the same exhaust pattern as a zero-purge dryer.
Heated Purge Regenerative Dryer
A heated purge dryer combines external heating with a portion of dry product air for regeneration.
The Lingyu HH heated-purge design separates regeneration into heated desorption and cooling stages, with average purge-air consumption of 4–8%.
Exhaust behavior can therefore change as the dryer moves through heating, cooling, repressurization, and tower switching.
Low-Purge Blower-Heated Dryer
In Lingyu’s low-purge blower-heated design, an external blower supplies regeneration air during heating.
During cooling, approximately 2% of system air flow is used as dry product purge air.
Because the source and amount of regeneration air differ from those of a conventional heatless dryer, exhaust behavior should be evaluated according to the actual regeneration stage.
A blower-heated regeneration adsorption air dryer should therefore be diagnosed according to its specific regeneration sequence.
Zero-Purge Blower-Heated Dryer
Lingyu’s zero-purge blower-heated design uses ambient air during heating and a closed-loop cooling process, with no compressed product air consumed throughout regeneration.
This illustrates why it is incorrect to assume that all desiccant dryers should continuously discharge compressed purge air.
The expected exhaust pattern depends first on the regeneration technology.
2. How to Tell Normal Exhaust From Abnormal Exhaust
Do not diagnose regeneration exhaust by sound alone.
Instead, compare four conditions at the same time:
Operating stage → valve command → tower pressure → exhaust behavior
Normal exhaust should correspond to a defined regeneration, depressurization, cooling, or switching stage.
Abnormal exhaust becomes more likely when:
- Exhaust continues when the controller indicates that the valve should be closed
- The regenerating tower cannot repressurize
- Tower pressure does not follow the expected sequence
- The exhaust pattern does not change after tower changeover
- Plant pressure drops more than expected
Lingyu’s regenerative dryer designs use automatic repressurization and pressure equalization before switching to help stabilize vessel pressure and reduce pressure shock.
Tower-pressure behavior is therefore one of the most useful diagnostic clues when determining whether regeneration exhaust is normal.
3. Do Not Diagnose the Dryer From a Universal Cycle Time
Different regenerative dryer designs can use very different adsorption and regeneration sequences.
There is no reliable universal rule that every dryer should complete its cycle within the same fixed period.
Some Lingyu designs also support dew-point-based energy-saving control, which can extend the adsorption cycle according to actual operating demand rather than always switching according to one fixed cycle time.
To determine whether exhaust duration is normal, check the actual model’s:
- Control sequence
- HMI operating status
- Current regeneration stage
- Tower pressure
- Operating manual
The dryer’s actual operating sequence is more useful for diagnosis than a generic cycle-time assumption.
4. Start With the Controller Before Opening the Dryer
If regeneration exhaust appears abnormal, first determine what the control system is commanding.
This is generally a more effective starting point than immediately dismantling pneumatic or exhaust valves.
Check the HMI or controller for:
- Active adsorption tower
- Active regeneration tower
- Current adsorption/regeneration stage
- Alarm status
- Tower pressure readings
- Regeneration status
If the dryer provides manual, commissioning, test, or forced-regeneration modes, also confirm that it has been returned to its intended automatic operating mode.
Some Lingyu blower-heated and HOC dryer designs monitor parameters including regeneration exhaust temperature, Tower A/B pressure, blower pressure, and pressure dew point where configured.
If the displayed operating sequence does not match actual pressure or valve behavior, continue with the control and actuator checks.
For faults involving incorrect tower transitions, see how to troubleshoot abnormal switching in a desiccant air dryer.
5. Check Solenoid and Pneumatic Valve Operation
Regenerative dryers depend on correctly timed valve switching.
Lingyu’s heatless and heated regenerative designs use pneumatic valves and automatic controls to manage adsorption, regeneration, and tower changeover.
If an exhaust valve remains open when it should close, possible causes include:
- Incorrect control command
- Solenoid problem
- Pilot-air problem
- Actuator problem
- Contamination
- Mechanical sticking
- Valve sealing wear
A practical troubleshooting sequence is:
Controller command → solenoid response → pilot-air supply → actuator movement → main valve position
First verify whether the controller is commanding the valve to open or close.
Then confirm that the solenoid responds correctly and that pilot air reaches the actuator.
Finally, verify that the main valve actually reaches the commanded position.
Following this sequence helps distinguish a control problem from an actuation, mechanical, or sealing problem.
Do not replace the main exhaust valve before determining whether it is receiving the correct command.
6. Use Tower Pressure to Identify Valve Leakage
A leaking regeneration or switching valve can prevent the regenerating tower from following its expected pressure sequence.
For example, if a tower should be repressurizing but its pressure remains low while exhaust continues, investigate the exhaust path and associated valves.
If a tower should be isolated but its pressure changes unexpectedly, investigate possible leakage through:
- Switching valves
- Check valves
- Equalization valves
- Exhaust valves
Automatic repressurization before tower switching is used because stable tower pressure is important to the switching process.
For accessible external piping connections, approved leak-detection methods can be used where appropriate.
Internal valve leakage, however, generally cannot be confirmed simply by applying leak-detection solution to the outside of a valve.
It is better identified through pressure behavior, valve position, appropriate isolation testing where the system design permits it, and the manufacturer’s approved service procedure.
7. Check Inlet Pressure Before Blaming the Dryer
Low or unstable inlet pressure can interfere with switching, repressurization, regeneration flow, and final dryer performance.
Do not apply one generic minimum pressure to every regenerative dryer.
For several Lingyu regenerative dryer ranges, the rated inlet pressure is 0.7 MPa, with an operating range of 0.6–1.0 MPa. Other pressure ratings may be available depending on configuration.
If inlet pressure is abnormal, check:
- Compressor output
- Upstream restrictions
- Receiver pressure
- Filter differential pressure
- Simultaneous plant demand
- Piping pressure loss
These external conditions should be checked before opening the dryer for mechanical inspection.
For a deeper pressure-loss diagnosis, see what to do when adsorption dryer pressure drop is too high.
8. Use the Correct Filter Differential-Pressure Limit
There is no universal filter differential-pressure replacement limit that applies to every compressed-air filter.
Different filter designs and element grades can have different allowable pressure-drop criteria.
The prefilter should therefore be evaluated using its specified differential-pressure limit together with its actual operating history.
If filter pressure drop increases abnormally, investigate:
- Element contamination
- Condensate drainage
- Oil loading
- Upstream compressed-air quality
A restrictive filter can reduce pressure available to the dryer and may contribute to operating problems that initially appear to be dryer faults.
9. Check Regeneration Flow—But Do Not Assume More Is Better
Incorrect regeneration flow can affect both dew-point performance and energy consumption.
Too little regeneration flow may provide insufficient regeneration capacity.
Excessive purge flow can waste compressed air and reduce the capacity available to the plant.
The correct regeneration demand depends strongly on dryer type.
For example, Lingyu regenerative dryer configurations include:
- Heatless HH series: approximately 8–14% average purge-air consumption
- Heated-purge HH series: approximately 4–8% average purge-air consumption
- Low-purge blower-heated design: approximately 2% product-air use during cooling
- Zero-purge blower-heated design: approximately zero compressed product-air consumption for regeneration
These differences are another reason why exhaust flow should always be evaluated according to the specific regeneration method.
For more detail, see how regeneration air flow should be adjusted on an adsorption air dryer.
10. For Heated and Blower-Heated Dryers, Check the Complete Regeneration System
If the dryer uses a heater or blower, troubleshooting should include the equipment responsible for creating and controlling the regeneration conditions.
For a heated dryer, compare the actual heating and cooling stages with the expected control sequence.
For a blower-heated dryer, check:
- Blower operation
- Heating status
- Regeneration exhaust temperature
- Tower A/B pressure
- Blower pressure
- Pressure dew point, where equipped
If the regeneration stage cannot reach the required operating condition, the desiccant may not regenerate properly even when the exhaust valve itself is operating correctly.
For this reason:
Continuous exhaust does not automatically mean the exhaust valve has failed.
The complete regeneration process should be checked before identifying a single component as the cause.
11. Check Condensate and Upstream Contamination
Oil and liquid water entering a desiccant dryer can create broader operating and reliability problems.
Contamination can affect:
- Valves
- Filters
- Piping
- Desiccant
- Regeneration performance
Check upstream separators, automatic drains, prefilters, and any refrigerated pretreatment stage where installed.
If excessive oil is found in the compressed-air system, the source of contamination should be corrected at the system level rather than repeatedly cleaning the dryer.
For a more detailed system-level diagnosis, see how to solve excessive oil content in a compressed air system.
12. Confirm Whether the Problem Is Actually Downstream Demand
Sometimes the dryer is blamed because system pressure is low while regeneration exhaust is audible.
However, the dryer may be regenerating normally while plant compressed-air consumption has increased.
Check:
- Receiver pressure
- Compressor loading
- Downstream leaks
- Recently added equipment
- Simultaneous pneumatic demand
- Distribution-system pressure loss
If pressure is stable before the dryer but falls significantly downstream, investigate the downstream system before treating regeneration exhaust as the root cause.
13. What if High Dew Point Occurs at the Same Time?
Abnormal exhaust and high dew point can occur at the same time, but one does not automatically prove that it caused the other.
High dew point can also result from:
- Dryer overload
- High inlet temperature
- Excessive moisture load
- Insufficient regeneration
- Poor valve switching
- Desiccant degradation
- Air contamination
- Incorrect operating conditions
Inlet pressure, temperature, regeneration consumption, and outlet dew point are related operating parameters and should be evaluated together.
If the main problem is moisture performance rather than regeneration exhaust itself, the desiccant air dryer high-dew-point troubleshooting guide is the more relevant diagnostic path.
14. A Practical Troubleshooting Order
For abnormal regeneration exhaust, use the following sequence:
Confirm dryer type and regeneration method → check the current control stage → compare tower pressure with valve commands → verify solenoid, pilot-air, and actuator response → inspect regeneration and switching valves → verify inlet pressure and regeneration flow → inspect filtration and condensate control → check blower/heater components where applicable → investigate downstream demand and leaks
This sequence helps rule out simpler operating and external causes before moving to internal mechanical inspection.
15. Safety Before Mechanical Inspection
Regenerative dryers contain pressurized air, automatically operated valves, and, in heated designs, high-temperature components and electrical equipment.
Before mechanical service:
- Isolate the equipment from pressure and energy sources
- Depressurize the equipment using the approved procedure
- Prevent automatic restart
- Follow the site’s lockout/tagout requirements
Do not bypass heater protection, valve interlocks, relief devices, or automatic controls to test a suspected fault.
Valve disassembly, internal tower work, electrical testing, and changes to control parameters should be performed by qualified personnel according to the specific dryer’s service requirements.
Preventing Abnormal Exhaust From Returning
Preventive maintenance should focus on actual operating condition rather than unsupported universal service intervals.
Track important performance indicators over time, including:
- Inlet pressure
- Tower-pressure sequence
- Regeneration behavior
- Exhaust pattern
- Filter differential pressure
- Condensate drainage
- Outlet dew point
The upstream compressed air should also remain clean and properly treated.
Pneumatic valves and actuators should be inspected according to their actual duty cycle, while filters, drains, desiccant, heaters, and blowers should be serviced according to the specific model’s maintenance requirements.
A gradual change in tower pressure, purge consumption, switching behavior, or dew point can provide an early indication of deterioration before a complete failure occurs.
Conclusion
Regeneration exhaust from a desiccant air dryer is not automatically a fault.
The correct diagnosis depends first on the regeneration technology.
A heatless dryer intentionally consumes dry purge air. A heated-purge dryer uses a different heating and cooling sequence. A low-purge blower-heated system can use only a small amount of product air during cooling, while a zero-purge blower-heated design may use no compressed product air for regeneration.
The most useful troubleshooting question is therefore not simply:
“Is air coming out of the exhaust?”
Instead, ask:
“Does the exhaust match the commanded regeneration stage and expected tower-pressure sequence?”
If it does not, start with the control command, then check the solenoid and actuator, followed by the switching and exhaust valves, inlet pressure, regeneration flow, upstream air quality, and finally the wider compressed-air system.
Following this order makes troubleshooting more systematic and helps avoid replacing components before the actual cause of abnormal exhaust has been identified.